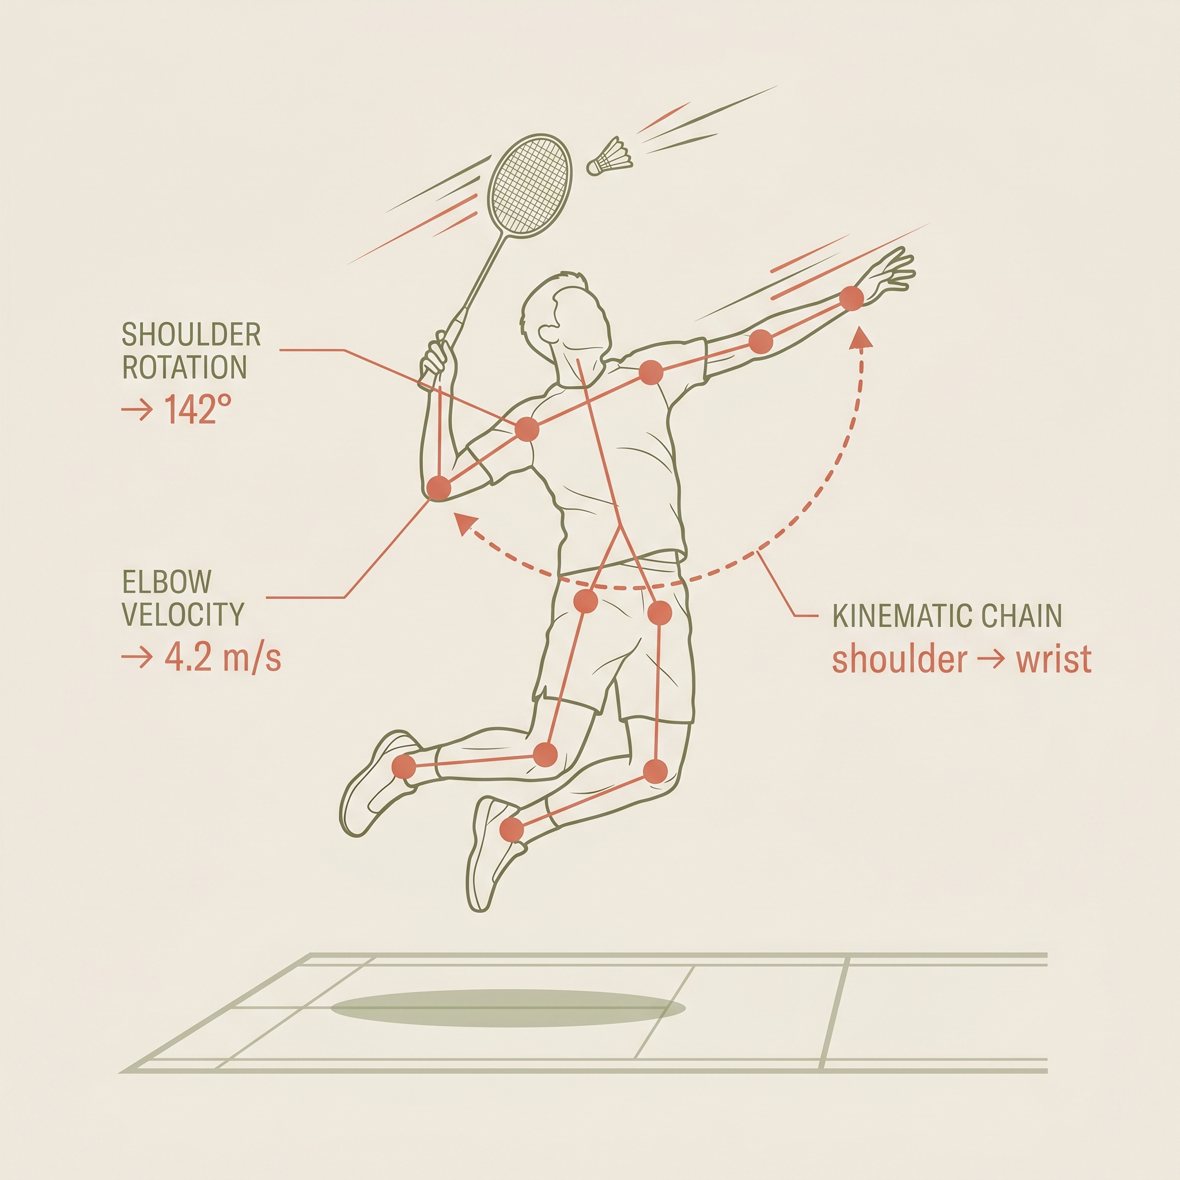
Sample coach report · Drill-ready · Demo data only
DeltaPlay
For coaches
Page 1 · Session KPIs

Karthik Sen · Coach Delta Report

Wed 11 Jun · Court 3 · 47 min singles vs Kavya Joshi · Coach Priya Sharma · U-17 · Session #14

Rallies
12
Illustrative
Coverage Measured
100%
Distance Measured
120.1 m
Peak movement Measured
17.4
km/h player speed
Karthik Sen tracked profile
Fatigue drift
Illustrative
L–R court bias
70%
Measured left
Finisher
72
Gemini demo
Grinder
58
Gemini demo
Avg rally
8.2
Illustrative
Coach summary · GeminiAuto-generated · review before WhatsApp

Karthik opened with high-tempo net pressure (R1–3). Kavya adjusted with deep clears to his backhand corner — recovery lagged R6–8. Final third: improved split-step and cross-court recovery. Narrative illustrative · movement KPIs measured.

02
Page 2 · Spatial analysis

Court coverage & movement map

Heatmap · P1 Karthik Measured

6×4 zone grid · pose occupancy
Left-side bias matches 70% measured split · avg speed 7.4 km/h.

Movement trail · mini court Illustrative

Pose-tracked path · last 8 rallies
net BH rear
Repeated BH rear loops (terracotta) correlate with lost rallies R6–8.

Style radar

Six-axis player fingerprint

Today   4-session avg

Session momentum

Movement intensity index · 5-min blocks
0–5 15–20 35–40
Dip at 20–25 min (fatigue) — align water break / drill change here.
03
Page 3 · Rally log & shot mix

Rally-by-rally intelligence

Rally log12 rallies · singles
#TimeShotsWinnerEndingNotes
102:146KarthikNet killFast approach · good split
204:029KarthikSmash winnerClean load transfer
306:185KarthikDropForehand net pressure
409:4411KavyaClearBH rear slow reset
512:308KavyaDriveStuck mid-court
615:0214KavyaClearFatigue drift starts
718:207KarthikNetRecovered aggression
822:0810KavyaClearBH corner again
928:146KarthikSmashFinisher mode
1033:4012KarthikDriveLong rally win
1138:029KavyaDropLate net approach
1242:188KarthikSmashStrong close

Shot tendency · Karthik

Gemini event classification
Smash
28%
Clear
22%
Net
20%
Drop
18%
Drive
12%

Point endings

How rallies ended · both players
Unforced
4
Smash W
3
Net W
3
Clear W
2
FINISHER
72
GRINDER
58
04
Page 4 · Biomechanics & action plan

Movement insights & next session

Smash mechanics

Smash chain

Hip-shoulder separation 12° above cohort avg. Arm rush on 2 of 7 smashes — clip R2, R12 flagged.

Keep / refine
Lunge asymmetry

Lunge load

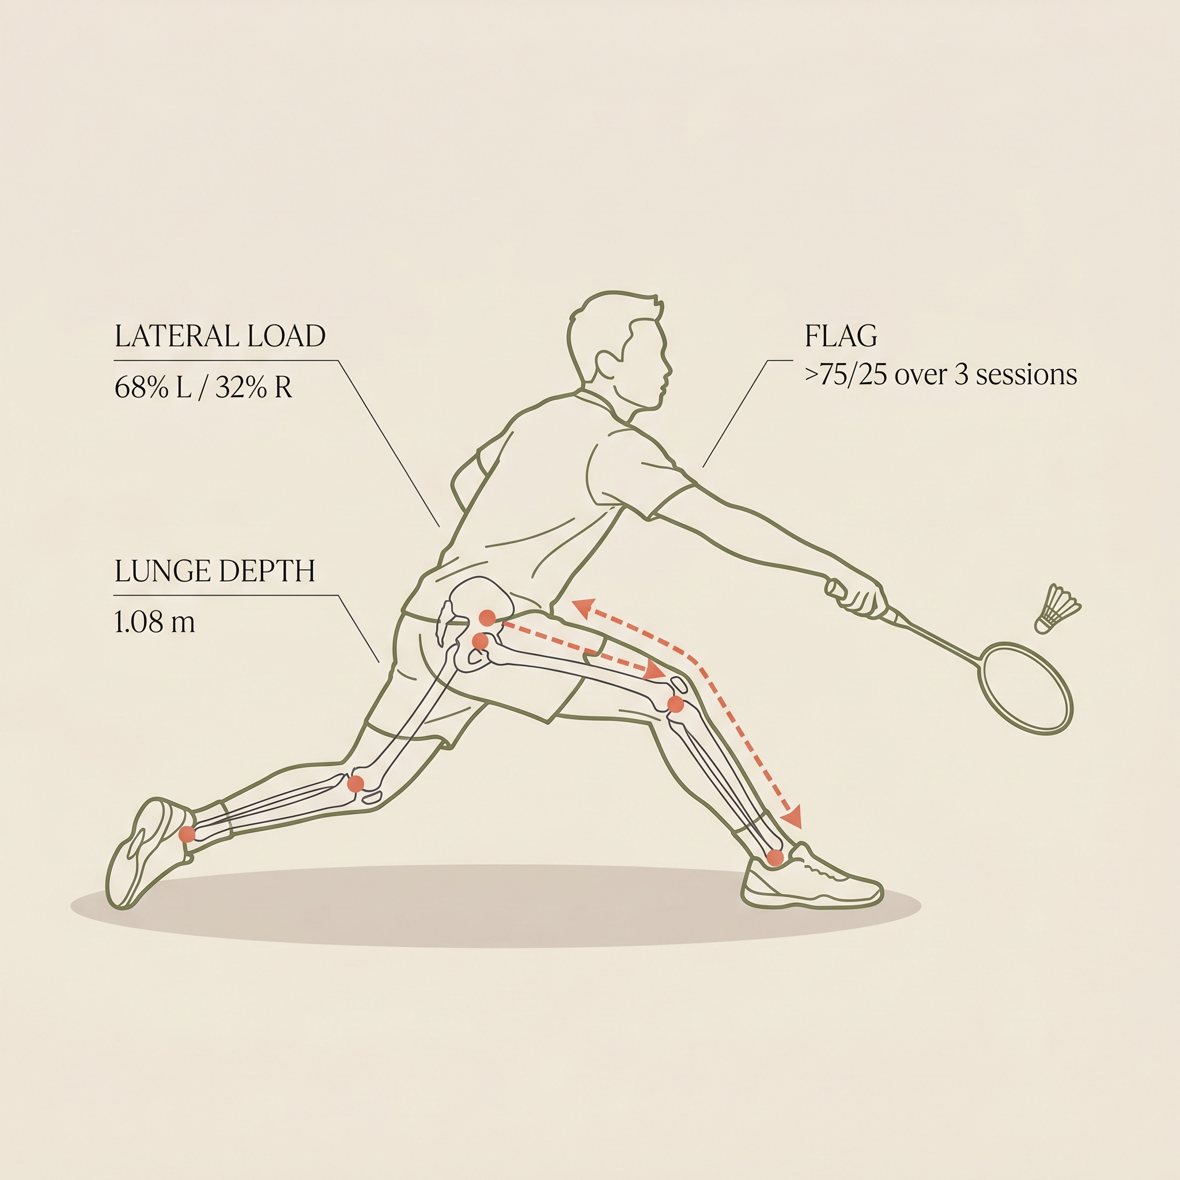
54/46 L–R on deep retrieves. BH lunge depth −6% vs FH — matches heatmap gap.

Drill: BH rear
Recovery footwork

Recovery

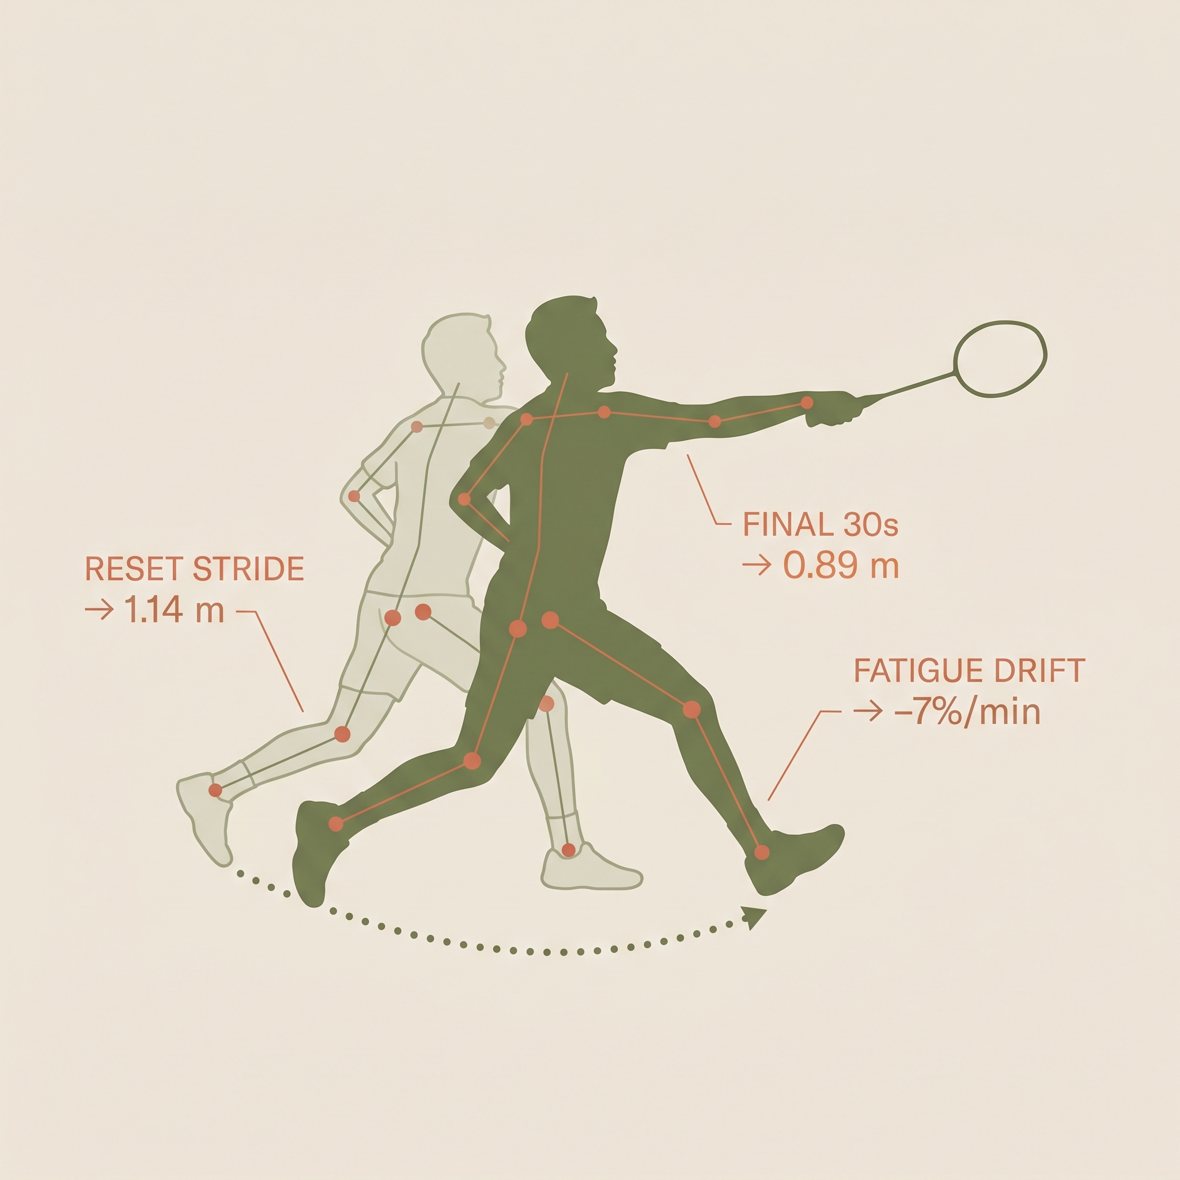
Split-step late in min 20–30 window. +12% recovery score vs May after coach cue at min 31.

Cue worked
Reach utilisation84%Wingspan used in stretch situations — room to extend on BH clears.
Net approach rate19Forward takes per session · target 22 for U-17 aggressive profile.
Centre recovery time1.4sAvg return-to-T after rear-court shot · benchmark 1.2s.

Recommended drills · next session

  • Cross-court BH recovery — 3×5 min, feed deep BH, emphasise split-step before push-off
  • Finisher finishers — long rally to smash-only winner (aligns with 72 finisher score)
  • Fatigue checkpoint at min 20 — 90s water + shadow footwork before block 3

Approve parent summary before WhatsApp send · Preview parent report →

All demo reports · Parent version · Academy digest